Please select the platform to login


Adding a wishlist feature to your WooCommerce store can transform the way customers interact with your products. It provides a convenient way for users to save items they’re interested in for future reference, whether they’re waiting for a sale, comparing options, or planning a gift purchase. Beyond improving user experience, a wishlist can also serve as a powerful marketing tool, encouraging customers to return and complete their purchases.
In this guide, we’ll explore the benefits of adding a wishlist to WooCommerce, walk you through how to set it up step-by-step, and recommend the best plugins to get started.
Wishlists play a crucial role in modern eCommerce strategy. They act as a digital reminder for customers and a valuable data source for store owners. Here are the key reasons why implementing a wishlist is worth it:
In short, adding a wishlist turns casual browsers into engaged customers, making it an essential feature for any WooCommerce site aiming to boost conversions and loyalty.
WooCommerce doesn’t come with a built-in wishlist option, but you can easily add one using third-party plugins. The right plugin will depend on your store’s needs, budget, and desired level of customization. Below are some top options:
When choosing a plugin, consider factors such as:
Taking time to evaluate these aspects ensures you select a plugin that aligns with your long-term store goals.
Once you’ve chosen the right plugin, it’s time to install and activate it on your WooCommerce store. Here’s how to do it:
Some plugins will automatically create a wishlist page for you, while others will require manual setup. Either way, you’ll have full control over how the feature appears and functions on your site.
Configuration is where you personalize your wishlist to match your brand identity and customer preferences. Most wishlist plugins offer a variety of settings to fine-tune the experience. Key areas to configure include:
By configuring these settings carefully, you can create a wishlist experience that feels seamless, visually appealing, and functionally useful to your audience.
Before officially launching your wishlist feature, thorough testing is essential. This ensures everything works correctly across devices and user types. Here’s what to check:
Testing eliminates usability problems before customers encounter them, maintaining a polished and trustworthy store experience.
Even the most powerful feature won’t drive results unless customers know it exists. Promoting your wishlist encourages shoppers to engage and return. Consider these tactics:
A well-promoted wishlist not only boosts customer retention but also becomes a valuable asset for seasonal marketing campaigns like Christmas, Valentine’s Day, or Black Friday.
With so many wishlist plugins available, it’s important to choose one that fits your store’s goals, design, and marketing strategy. Below are some of the best WooCommerce wishlist plugins worth considering, along with their standout features and ideal use cases.

TI WooCommerce Wishlist is one of the most user-friendly plugins for adding a wishlist feature to your store. It’s lightweight, fast, and integrates seamlessly with most WooCommerce themes. The plugin supports AJAX, meaning customers can add or remove items from their wishlist without page reloads, enhancing the overall experience.
Key Features:

YITH WooCommerce Wishlist is one of the most popular plugins on the market. It offers a polished design and a wide range of settings that help you create a powerful wishlist system. Users can share their wishlists on social media or with friends, helping your store reach new audiences through organic sharing.
Key Features:
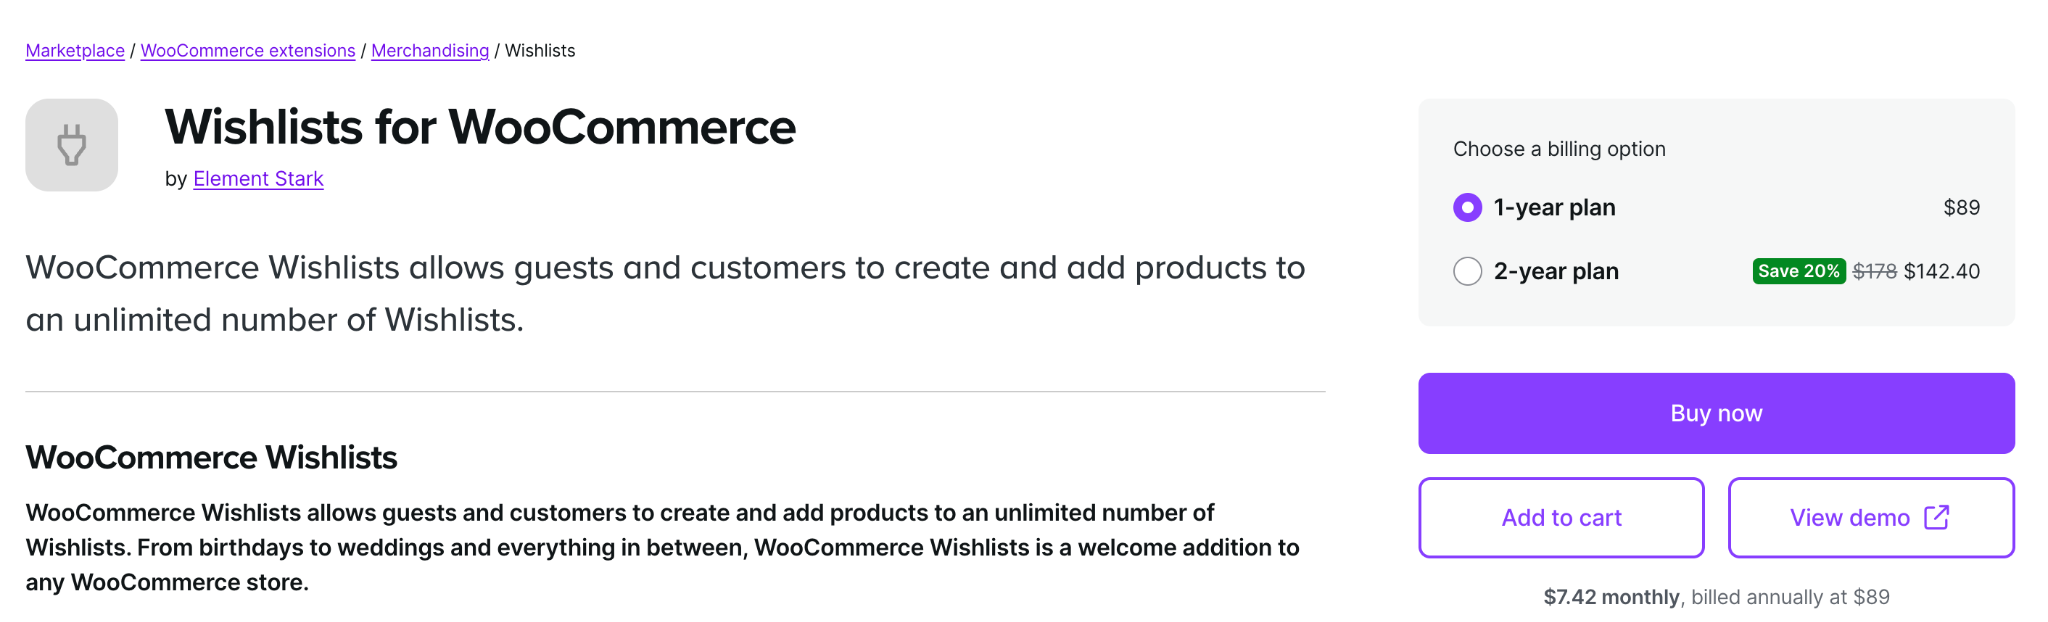
Developed by the WooCommerce team, this premium plugin provides a highly reliable and professional wishlist system. It allows both guests and registered users to create unlimited wishlists and set privacy levels for each one.
Key Features:

Wishlist Member is a powerful plugin that extends beyond traditional wishlist functionality. It’s designed for WooCommerce sites that offer memberships, gated content, or VIP promotions. You can use wishlists to segment customers and offer personalized deals to loyal shoppers.
Key Features:
Premmerce Wishlist focuses on simplicity and performance. It’s easy to install, doesn’t slow down your site, and provides all the essential wishlist features without unnecessary extras. It’s perfect for small businesses or minimalist store designs.
Key Features:
Adding a wishlist feature to WooCommerce is one of the simplest yet most impactful upgrades you can make. It bridges the gap between browsing and buying, keeps customers engaged, and provides valuable behavioral insights.
With just a few steps, choosing the right plugin, configuring settings, and promoting the feature, you can create a more personalized and convenient shopping experience. Whether you’re running a fashion boutique, electronics store, or handmade craft shop, a wishlist empowers your customers to plan purchases, share ideas, and return to buy later.