Please select the platform to login


When customers browse your Shopify store, they often compare products before deciding which one to buy. A comparison table makes that process simple, letting shoppers see differences in features, pricing, and specifications at a glance. The good news? You don’t need to know how to code to add one.
In this guide, we’ll walk you through how to create comparison tables on Shopify product pages using no-code methods, including built-in Shopify features and apps. You’ll also learn how to design them effectively to boost sales and make shopping easier for your customers.
Comparison tables are more than just design elements, but they’re conversion tools. When done right, they can transform how customers interact with your products.
Here’s why they matter:
For example, if you sell skincare products, a comparison table can show how different serums vary by skin type, ingredients, and results, helping buyers choose confidently.
Comparison tables are especially effective when:
If your store sells fashion, electronics, health products, or home goods, comparison tables can make a big difference in improving conversions and customer satisfaction.
There are two main no-code ways to create comparison tables on your Shopify product pages:
Let’s dive deeper into each option.
If your Shopify theme is Online Store 2.0 compatible (like Dawn or Sense), you can build comparison tables directly from the theme editor with no coding required. This approach is great for merchants who want full creative control without external tools. It’s flexible, visually appealing, and allows you to update or rearrange information easily from Shopify’s theme editor.
With this method, you will have full control over design and content while keeping everything inside Shopify. Let’s get started!
Step 1: Go to your Theme customization area.
From your Shopify dashboard, navigate to Online Store > Themes > Customize to open the theme editor.
Step 2: Select your product page template.
In the top dropdown menu, choose Products and select the template you want to edit.
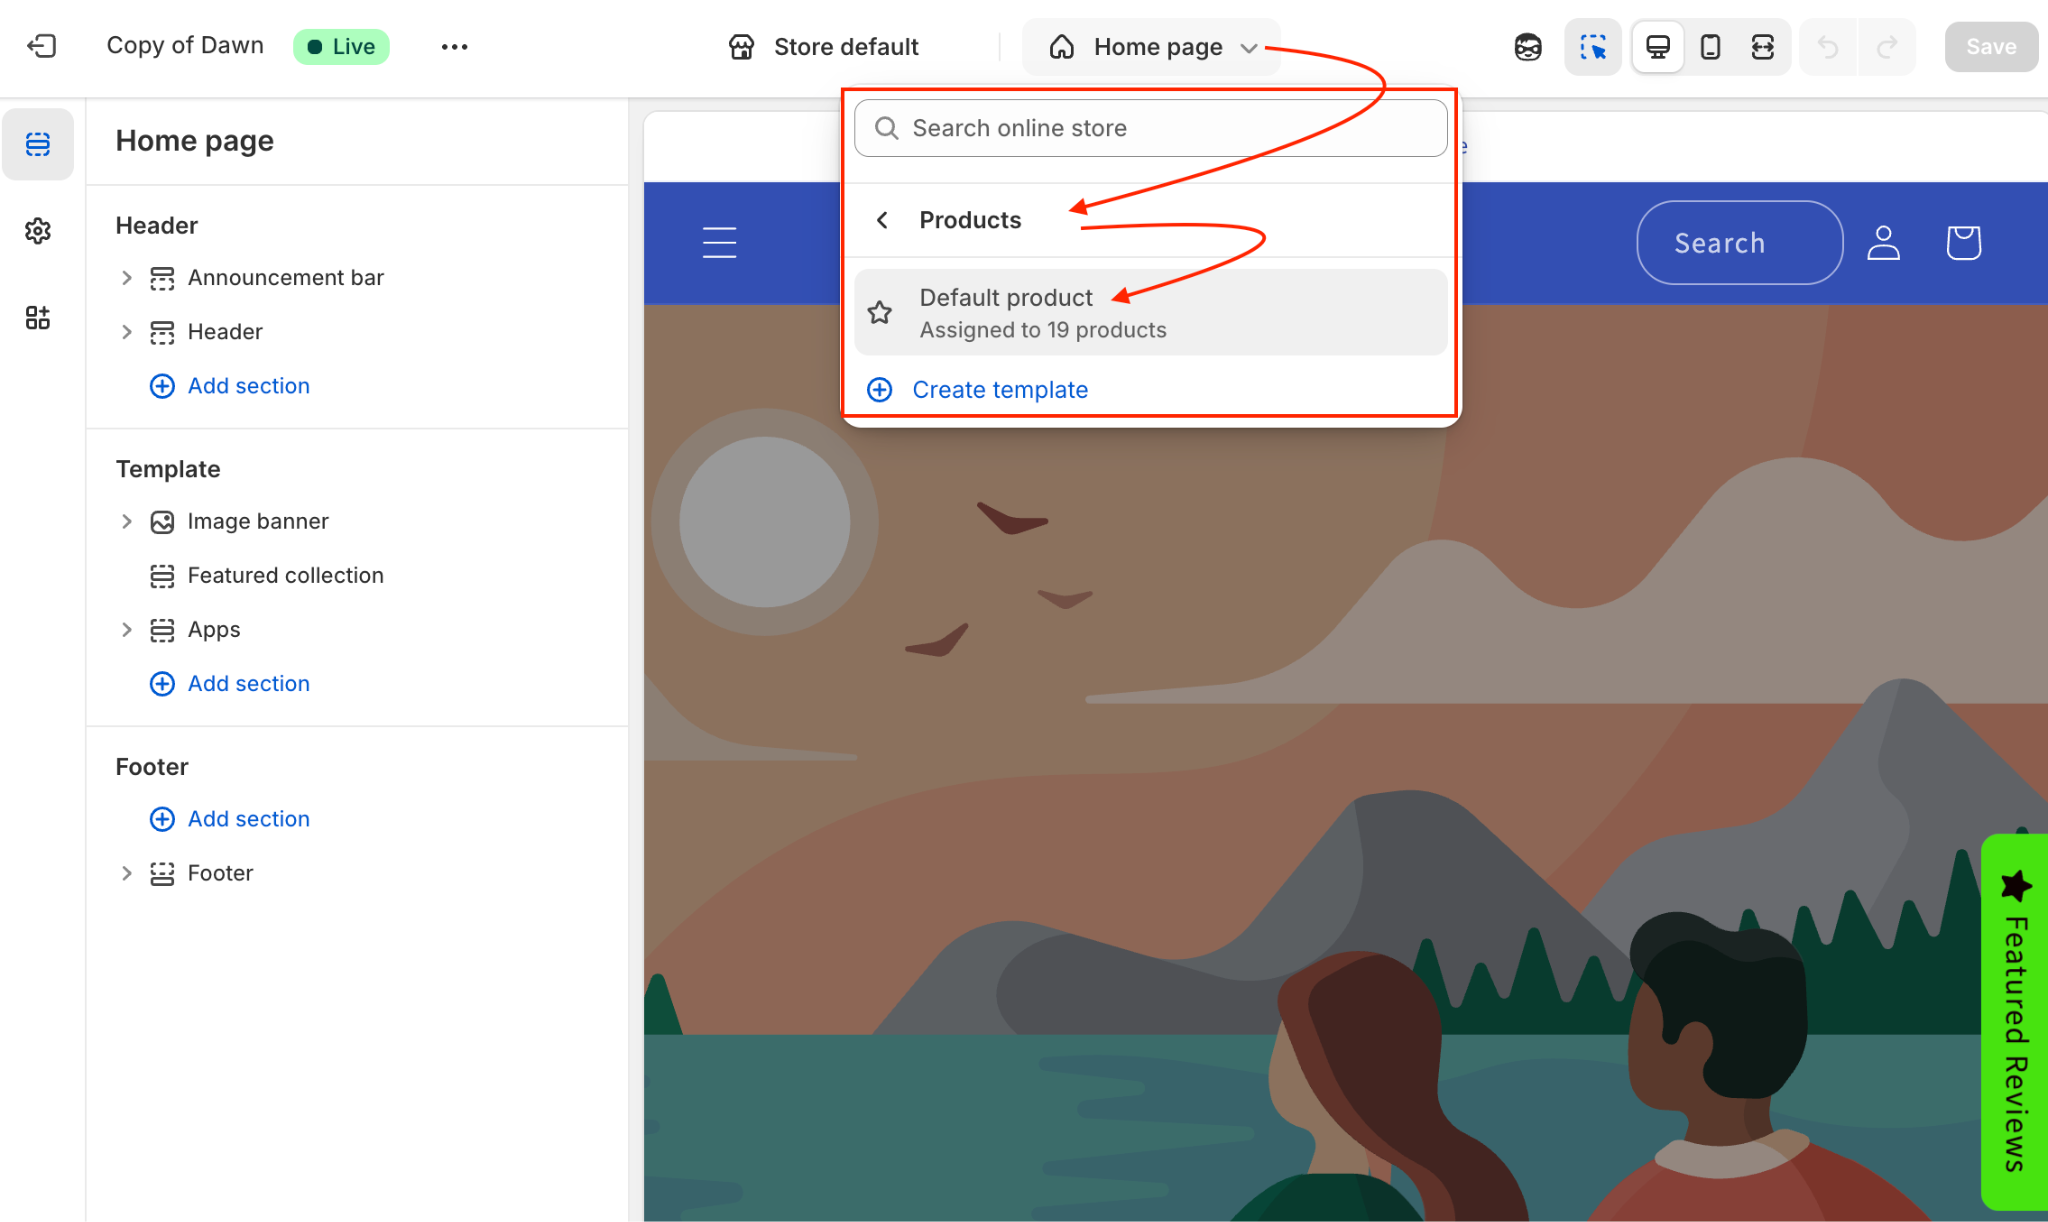
Step 3: Add a new section for the comparison table.In the Template section, click Add section, then choose options such as “Custom content”, “Table,” or “Multicolumn”, depending on your theme’s available blocks.

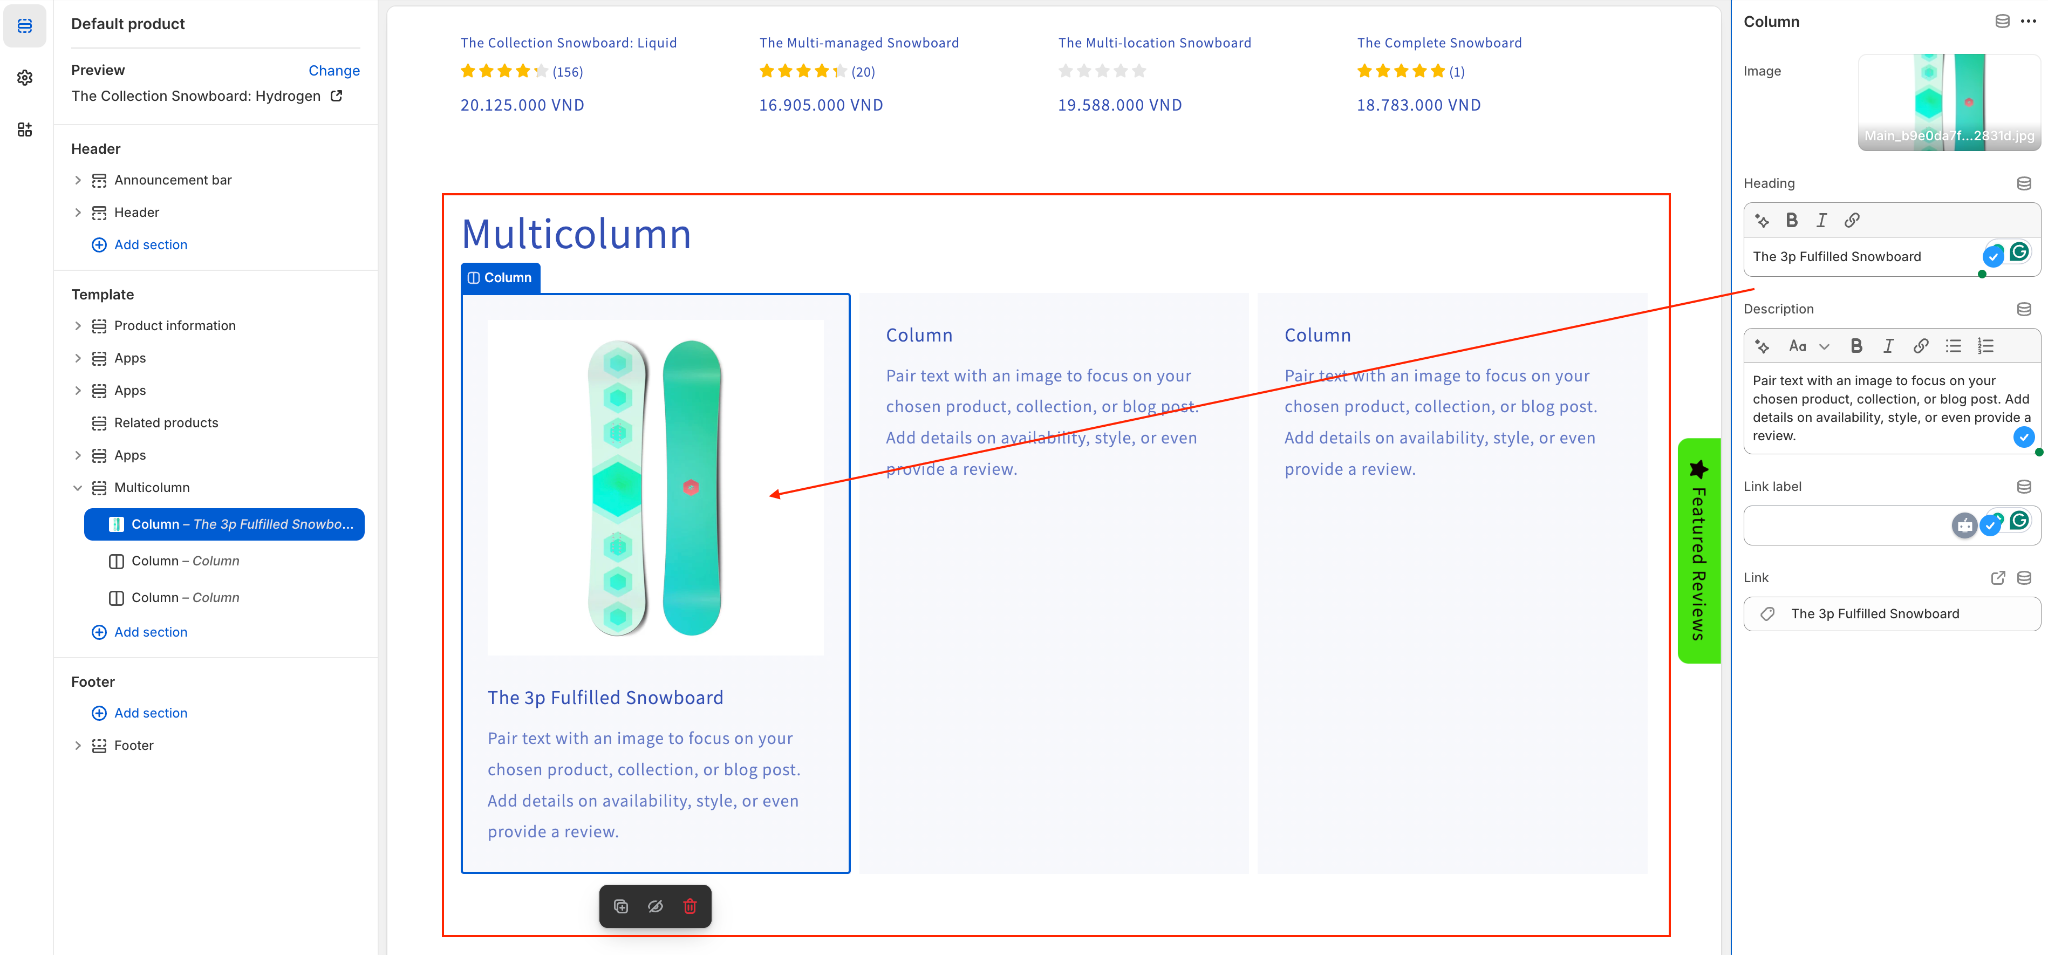
Step 4: Create columns for each product.
Use the “Columns” feature to create side-by-side comparisons. For example, you can make one column for “Product A” and another for “Product B.”
Step 5: Add content blocks for features.
Inside each column, insert text or image blocks to describe product attributes like price, materials, sizes, or specifications.
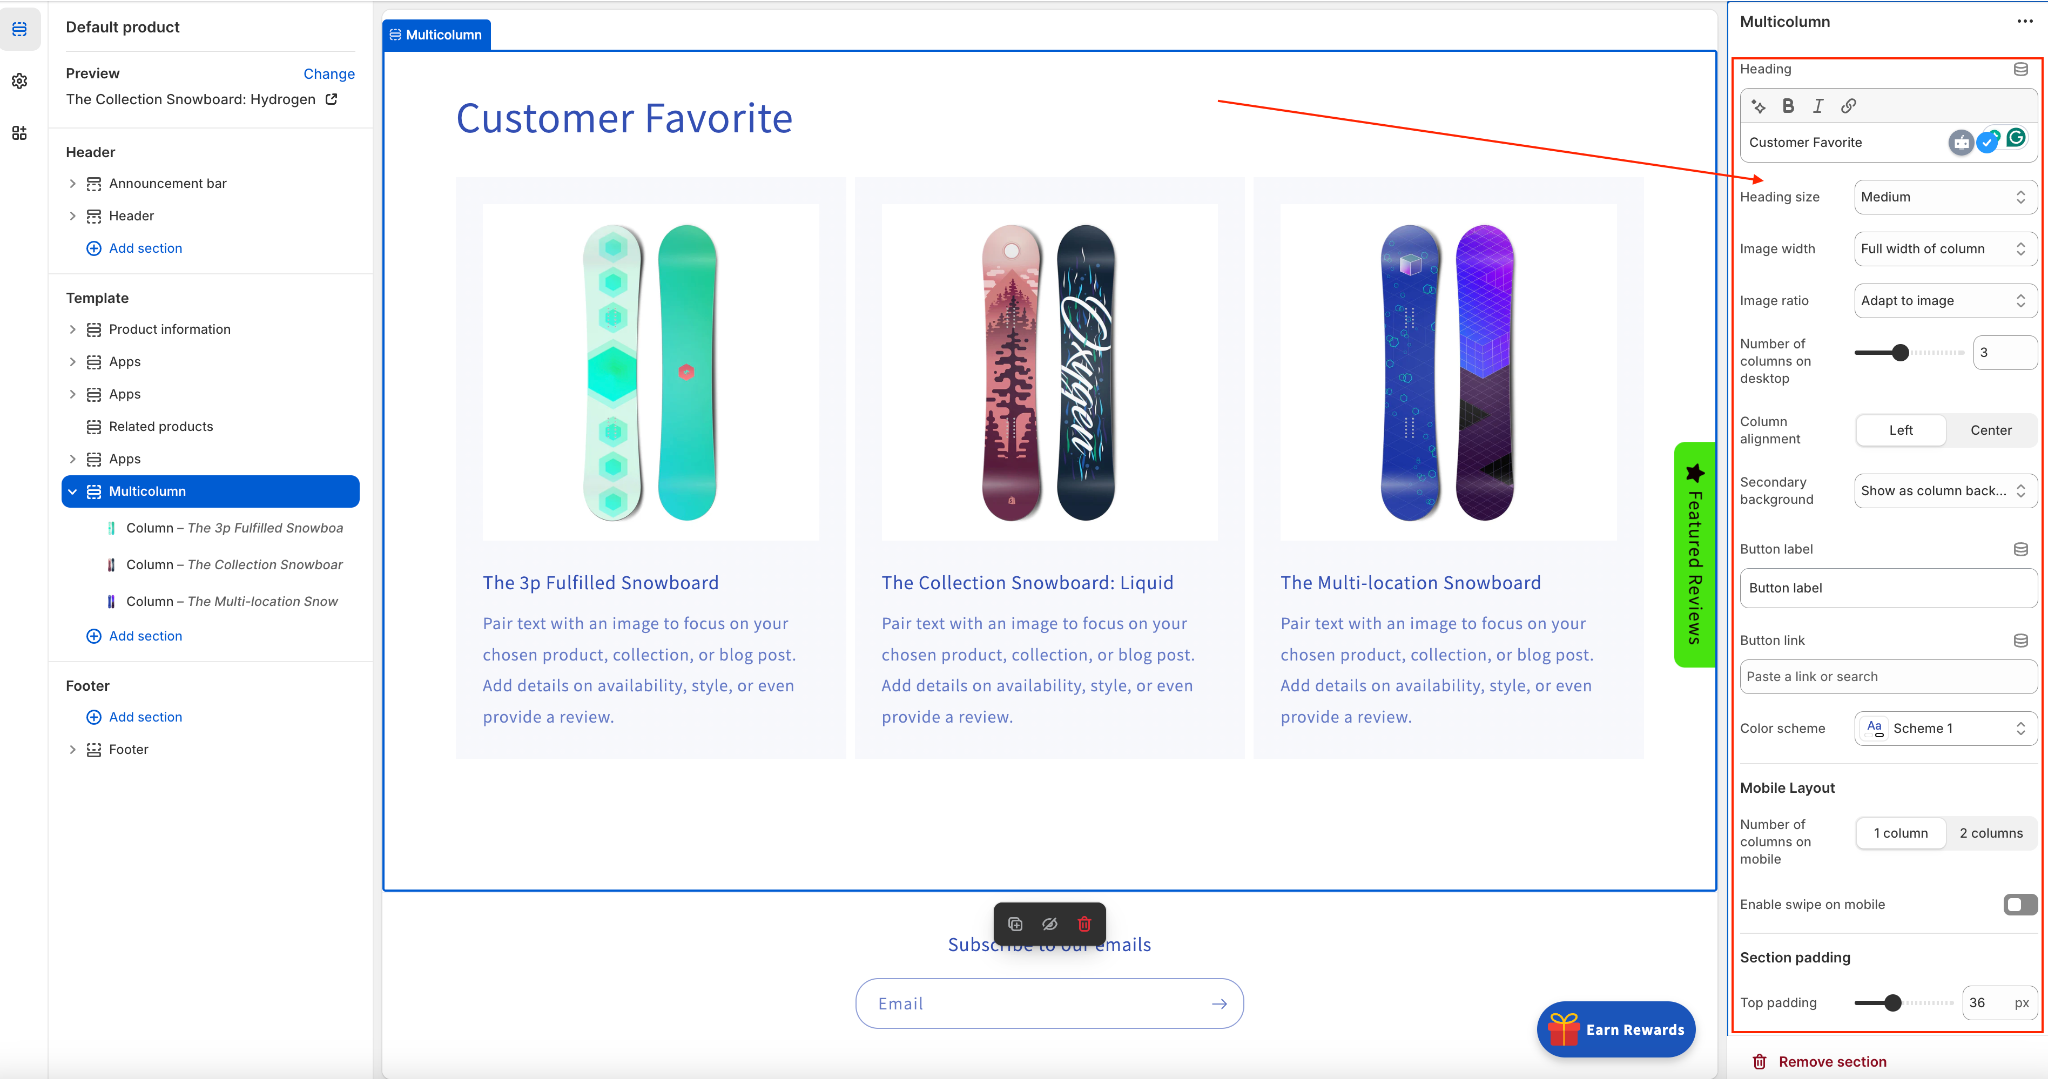
Step 6: Customize the design.
You can adjust fonts, background colors, borders, and spacing to match your store’s branding. Highlight your top product using color or an icon like “Best Value” or “Customer Favorite.”
Step 7: Preview and save.
Once everything looks perfect, preview your product page on both desktop and mobile to ensure the table displays correctly. Then click Save.

If you want more dynamic features, like auto-syncing product data, responsive layouts, or interactive designs, a dedicated Shopify app is the easiest way to create professional comparison tables without touching code.
These apps are built specifically for Shopify, meaning they integrate seamlessly with your product catalog, images, and prices. Here are some recommended apps for you to add comparison tables on your Shopify product page:
This app lets customers select multiple products and instantly view them in a responsive comparison table. You can customize which attributes appear, such as price, rating, or features.
Key Features:
Perfect for beginners, this app offers ready-made templates and easy customization options. You can use it to compare collections, variants, or entire categories.
Key Features:
Ideal for stores with a large catalog, this app automatically pulls information from your product pages to create dynamic comparison tables.
Key Features:
With most apps, you can choose which products to include, decide what details appear in the table, and embed the comparison on specific product or collection pages, all with a few clicks.
Creating a comparison table is not only about listing information, but it’s also about presenting it in a way that helps customers make confident, quick, and informed decisions. Below are key tips to design comparison tables that truly drive conversions and enhance the shopping experience.
Only include the product details that directly influence purchasing decisions, such as price, materials, warranty, or special features. Overloading the table with too much technical or irrelevant information can confuse customers and reduce clarity. Keep your focus on attributes that help shoppers instantly see the real differences between products.
Guide your customers toward the product you most want to sell by emphasizing it visually. Use a different background color, a border, or a label like “Best Value” or “Customer Favorite” to make it stand out. This subtle visual cue helps shoppers focus on your most profitable or best-performing product without feeling pressured.
Images and icons can communicate product differences faster than words. For example, small product thumbnails, check marks, or feature icons make your table more engaging and easier to scan. Visual elements also break up text-heavy layouts, helping customers process information at a glance.
A large percentage of Shopify traffic comes from mobile devices, so your table must adapt to smaller screens. Choose layouts or apps that automatically resize columns and stack features vertically for better readability. Test your table on multiple devices to make sure users can still compare products easily without zooming or scrolling excessively.
Add “Buy Now,” “Learn More,” or “Add to Cart” buttons beneath each product column to encourage immediate action. This turns your comparison table into an interactive selling tool instead of just an informational element. By placing CTAs strategically, you make it effortless for shoppers to move from comparing to purchasing.
A visually cluttered table can overwhelm customers, so maintain consistent spacing, fonts, and colors throughout. Use alternating background shades or light dividers to separate rows and improve readability. Consistency helps users focus on the information rather than the design, creating a smoother decision-making experience.
Colors should enhance clarity, not distract. Use subtle highlights to draw attention to differences or key benefits, such as a slightly tinted cell for “Free Shipping” or “Extra Warranty.” Avoid overly bright or mismatched colors that can make your table look unprofessional or hard to read.
Arrange features in a logical order, starting with the most important ones such as price, key features, and size, followed by secondary details like materials or shipping time. A consistent order across all product tables helps customers compare efficiently. Think from the shopper’s perspective—what information would they want to see first?
Labels like “Battery Life: 12 Hours” or “Fabric: 100% Cotton” are clearer than vague terms like “Long-lasting” or “Soft.” Clear labeling ensures shoppers understand exactly what they’re comparing. The more transparent your descriptions, the more trust you build with potential buyers.
A comparison table shouldn’t be static. Monitor which products get the most clicks or conversions, and adjust your design or layout accordingly. Regular updates also keep your information accurate and relevant, especially if you frequently change prices, product specs, or stock availability.
Creating comparison tables on Shopify product pages doesn’t require any coding skills. Whether you use Shopify’s built-in sections or specialized apps, you can design professional, mobile-friendly tables that help customers make confident purchase decisions.
A well-designed comparison table does not only display information, but it also builds trust, improves user experience, and subtly guides shoppers toward the right choice. Start adding them to your product pages today, and you’ll likely see more engagement, fewer returns, and stronger sales results.