Please select the platform to login


Your Shopify header is the first visual and navigational element shoppers interact with on your store. It showcases your brand identity, helps visitors explore products easily, and can subtly influence purchasing behavior. A well-crafted header not only improves your store’s aesthetics but also enhances usability and conversions. In this guide, we’ll walk you through how to customize your Shopify header like a pro step by step.
Your header is more than just a visual element, but it’s the backbone of your store’s navigation. It holds the essential components like your logo, menus, search bar, and cart, guiding users effortlessly through your site. A clean, intuitive header helps shoppers find what they’re looking for and builds credibility for your brand. When designed strategically, it can turn casual browsers into loyal customers.
A strong header:
Before making any customizations, you’ll need to access the header section through your Shopify theme editor. This is where you can visually adjust layouts, colors, and elements without touching the code. Shopify’s interface allows real-time previews, making it simple to test and refine your design choices. Getting comfortable with this editor is the first step to mastering your store’s design.
To access your header settings:
Your logo is the centerpiece of your header and a crucial part of your brand identity. It communicates who you are instantly and sets the tone for your entire site. Ensuring your logo looks sharp, fits well, and aligns with your brand colors can significantly enhance first impressions. Shopify makes it easy to upload, resize, and position your logo within the header. In order to make changes on logo and other brand elements, you need to:
Pro Tips:
The navigation menu is one of the most critical components of your header. It guides visitors through your collections, categories, and pages. A clean, structured menu ensures a smooth shopping experience and helps users quickly locate what they’re looking for. The simpler and more intuitive your navigation is, the longer visitors will stay on your site. To customize the navigation menu, you can follow the steps below:
Optimization Tips:
A search bar makes it easier for shoppers to find products quickly, especially in larger stores. It reduces frustration, improves browsing time, and increases conversion potential. Header icons like the cart or wishlist also play a role in creating a seamless experience. By customizing these elements, you can make navigation intuitive and consistent with your branding. To add or edit Search Bar:
Extra Tip:
Customize your Cart, Wishlist, or User Account icons using your theme’s icon pack or upload your own SVG icons for a modern, branded touch.
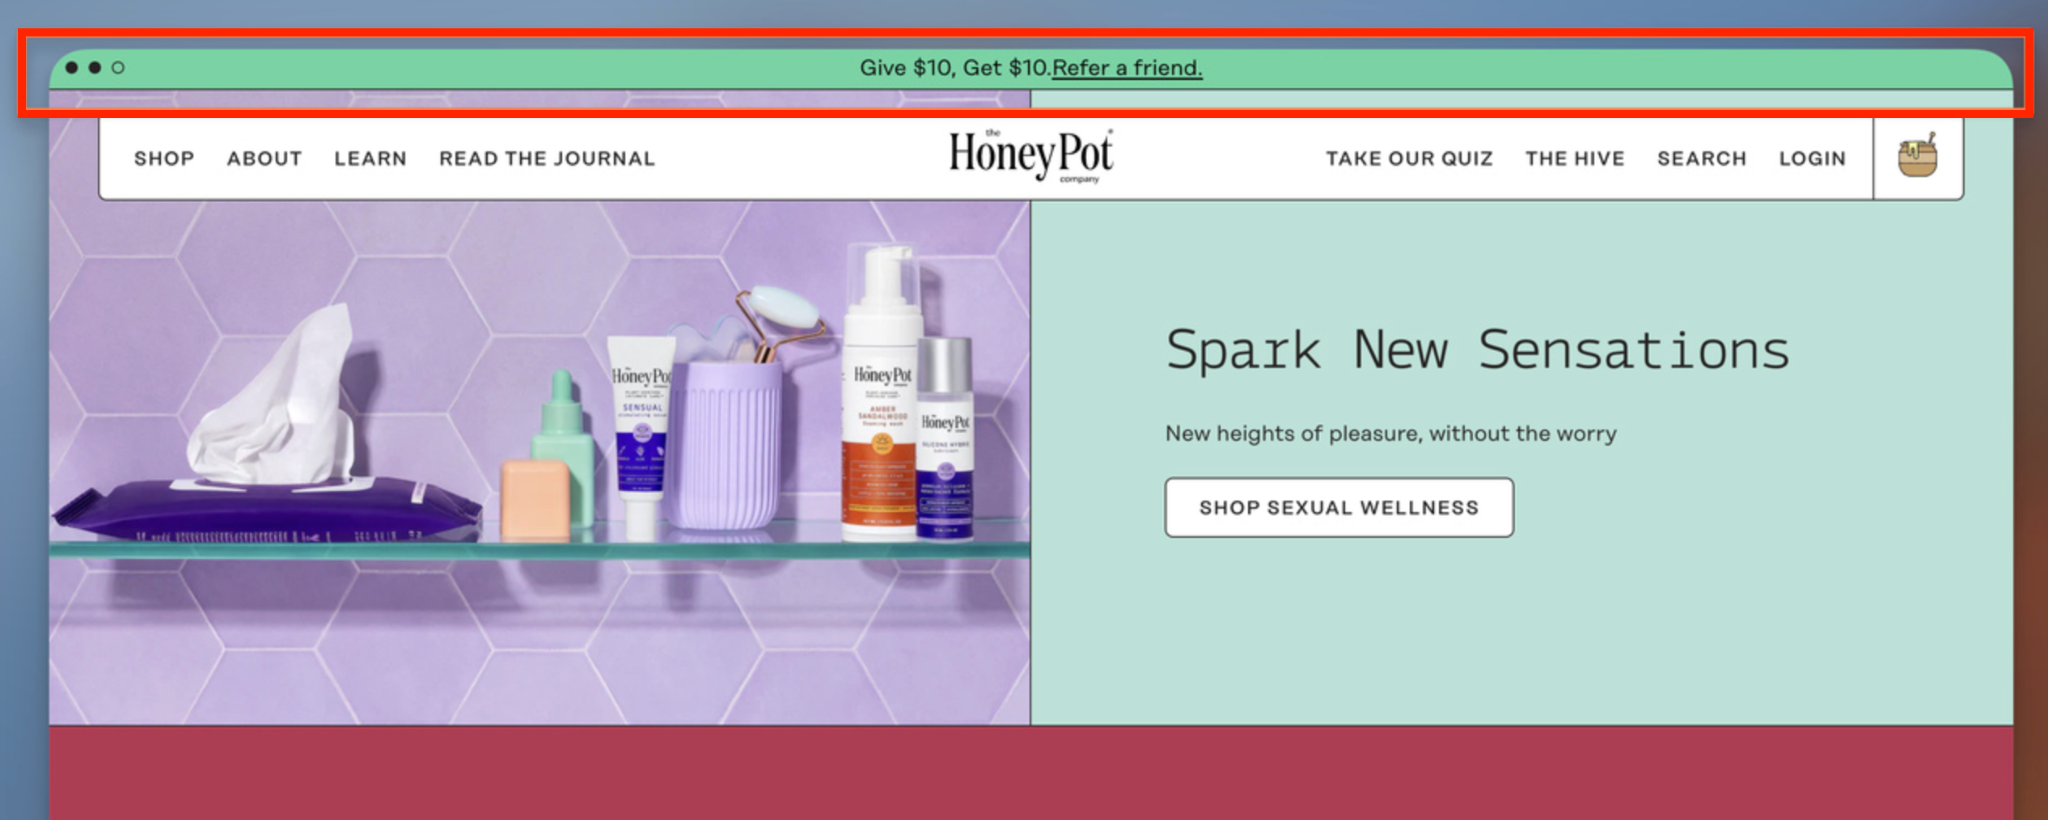
An announcement bar adds a dynamic and engaging touch to your store. It’s a small yet powerful tool for sharing updates, discounts, or shipping information. A well-timed announcement bar can drive clicks, highlight offers, and increase average order value. Shopify lets you easily adjust the design, color, and message to match your brand’s personality. To set it up, you need to:
Best Practices:
The layout of your header impacts both appearance and usability. Whether you prefer a minimalist look or a detailed layout with multiple elements, Shopify themes offer plenty of customization options. Proper alignment ensures balance between your logo, navigation, and icons, creating a visually appealing design. Experiment with different arrangements until you find one that fits your brand and enhances user experience.
Customization Options:
If you want to go beyond the theme editor, Shopify’s Liquid code gives you full creative control. This option is ideal for advanced users who want to insert custom buttons, banners, or animations. Coding allows you to tailor your header exactly to your brand’s needs and add functionalities that aren’t available in your theme’s default options. However, it’s best to back up your theme before editing any code. To add custom code, please follow the steps below:
For Examples:
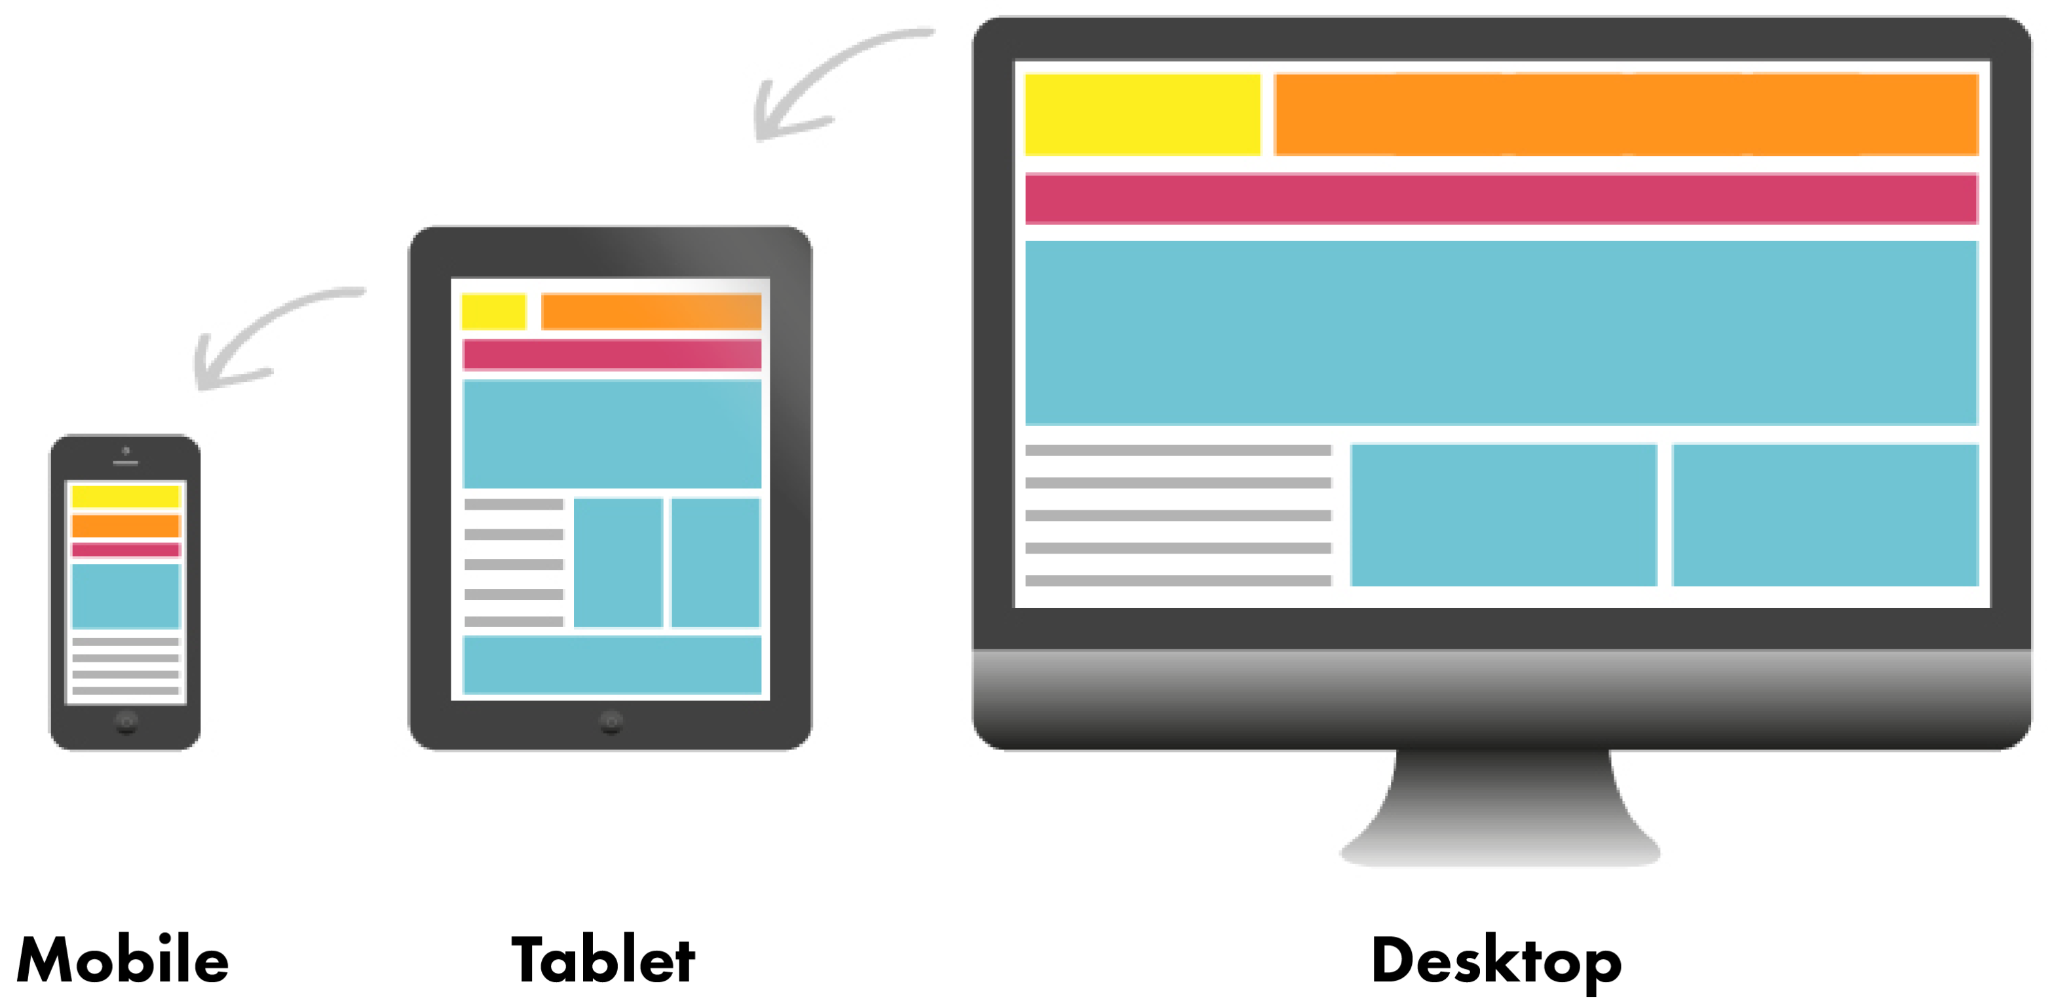
Mobile optimization is essential since most shoppers browse on phones or tablets. A header that looks great on desktop but clunky on mobile can drive users away. You’ll want to ensure your logo, icons, and navigation menu are scaled and functional on smaller screens. Shopify themes like Dawn automatically adjust for mobile, but testing your design is still crucial. When optimizing header for mobile, you should:
Sometimes, your theme’s default customization options aren’t enough. In such cases, Shopify apps can extend your header’s design and functionality. These tools let you create drag-and-drop designs, add interactive menus, or integrate marketing elements without touching code. They’re great for merchants who want professional results with minimal effort. Here are some recommended apps for you to try:
Once you’ve customized your header, it’s essential to test how users interact with it. A visually appealing header is great, but functionality always comes first. Track engagement, clicks, and navigation paths to see if customers are finding what they need quickly. Small adjustments based on data can make a big difference in conversion rates.
Your Shopify header is not only a design element but also a crucial part of your store’s user experience. Customizing it the right way ensures visitors can navigate easily, engage with your brand, and make confident purchase decisions. By refining your logo, navigation, banners, and mobile layout, you’ll create a polished and high-converting online store.
Whether you customize through Shopify’s editor, use third-party apps, or edit Liquid code, your header can become a powerful tool that defines your store’s professional look and feel.