Please select the platform to login


Cart abandonment is one of the most significant challenges for online stores. Even when shoppers add products to their cart, many leave without completing the purchase. One of the key reasons is that the checkout process often feels too long, confusing, or uncertain. Shoppers want a clear sense of what comes next and how much effort is required to finish. This is where checkout progress bars come in.
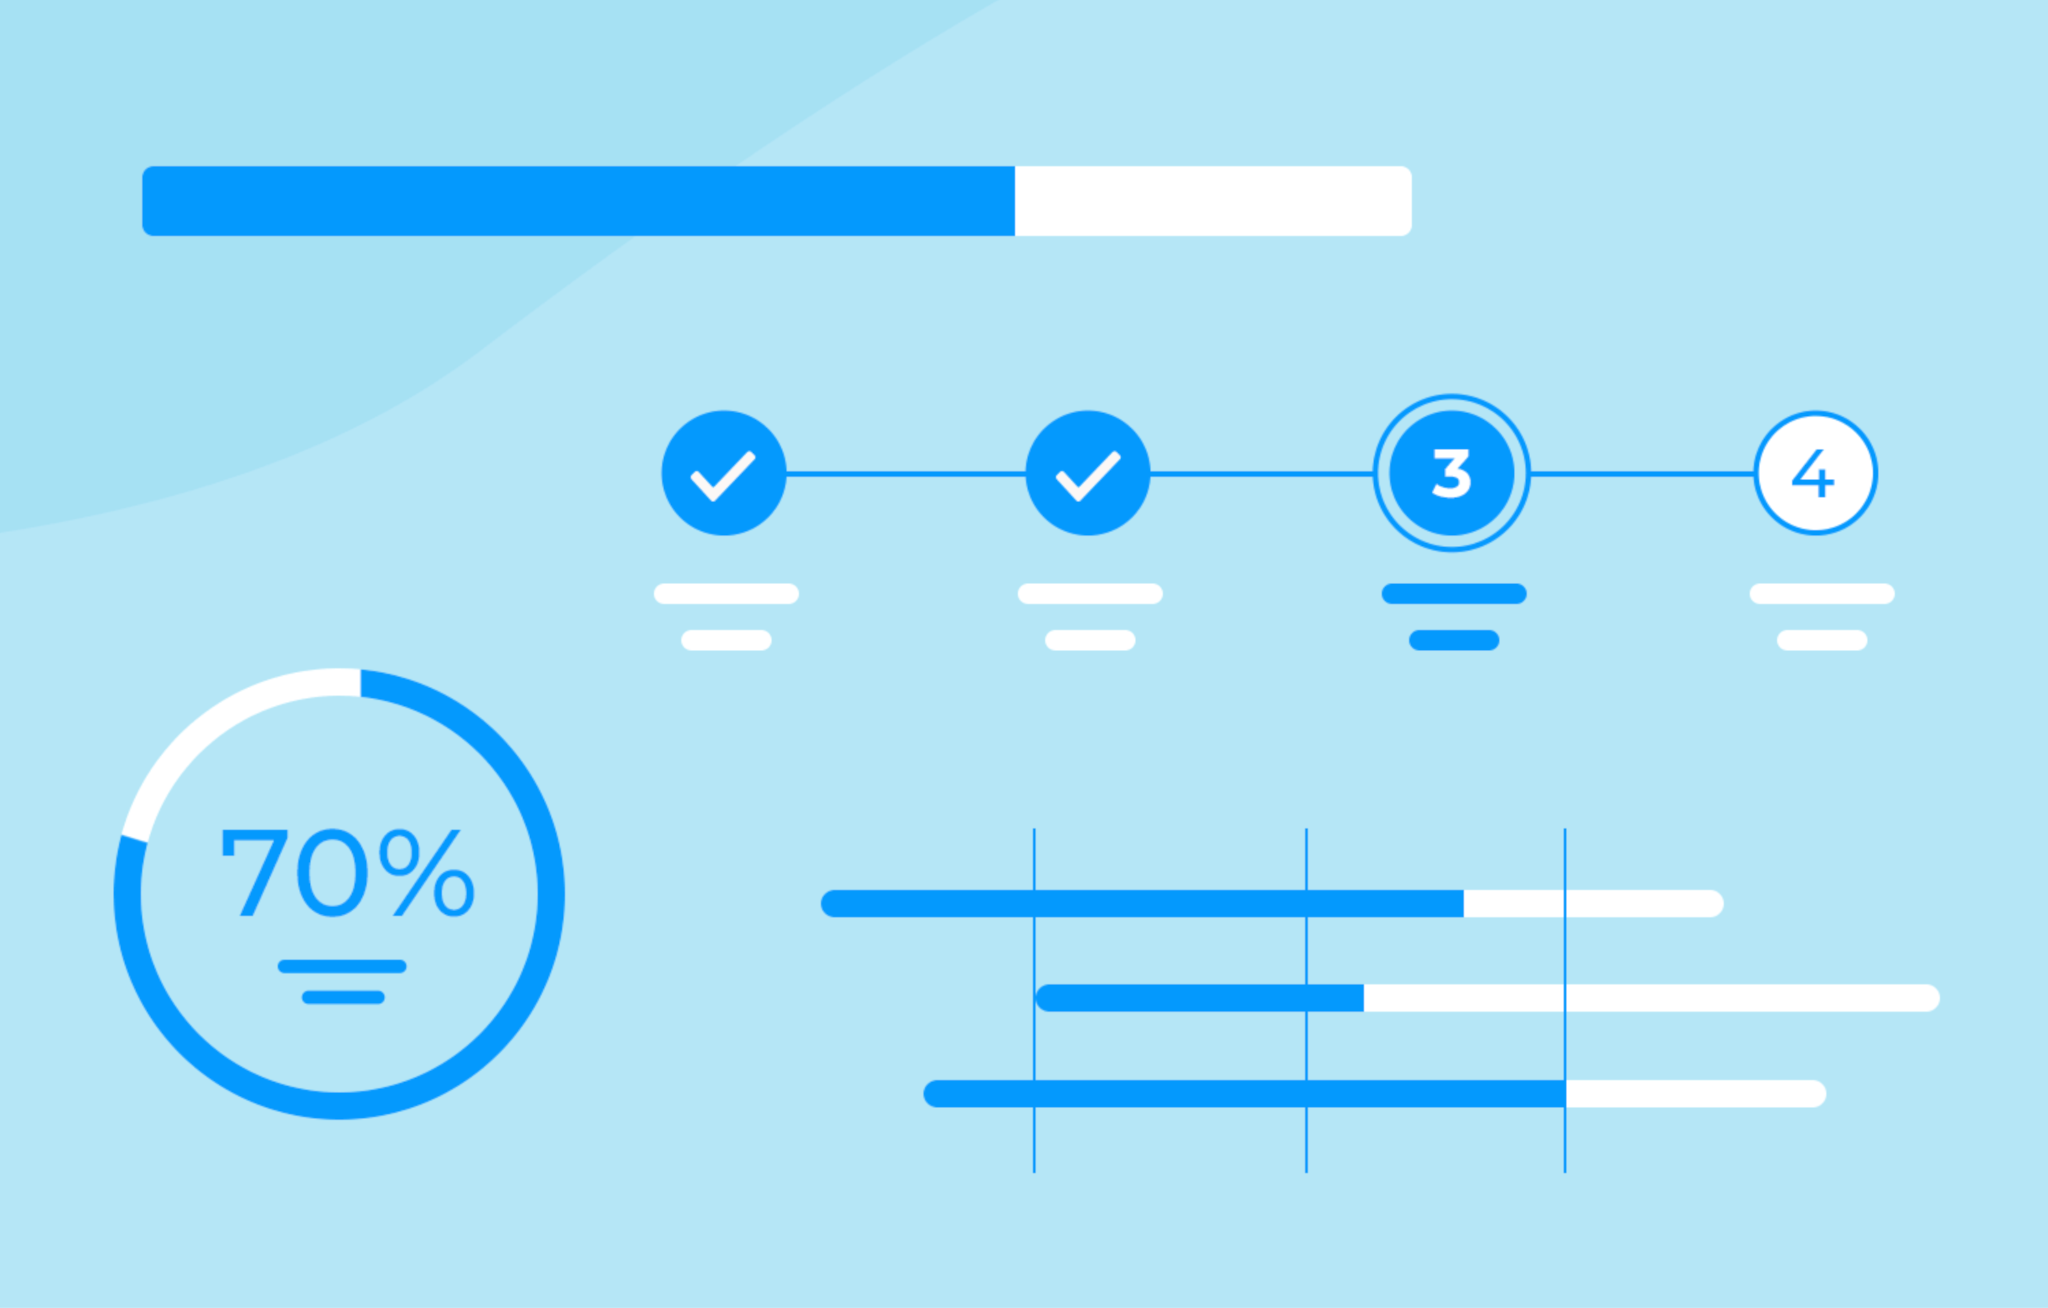
A progress bar is a visual indicator that shows customers how far they’ve advanced in the checkout process and how many steps remain. It transforms a potentially stressful experience into something predictable and manageable. By providing a clear roadmap, progress bars encourage shoppers to complete their purchase rather than abandoning their cart at the final step. In this article, we’ll explore why progress bars are effective, how to implement them using no-code Shopify apps, and best practices to maximize their impact.
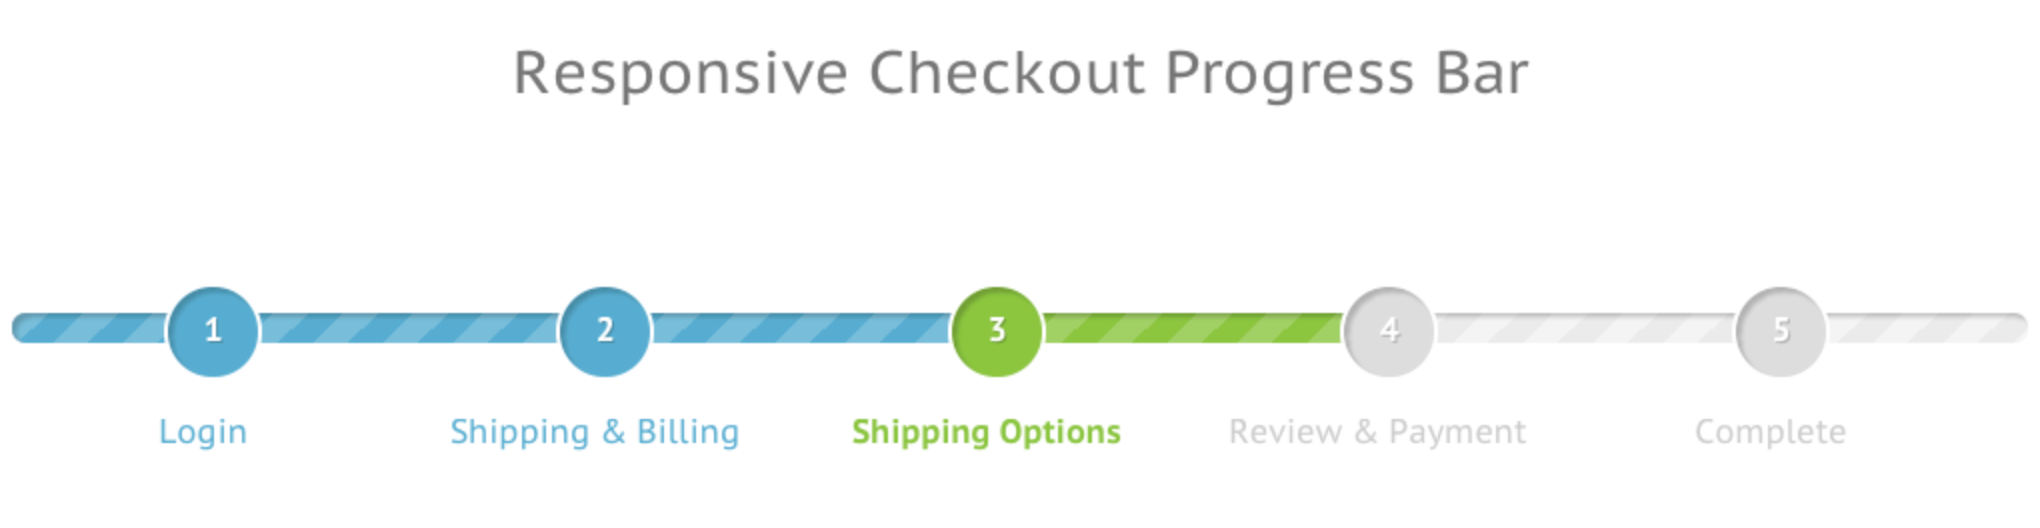
A checkout progress bar is a visual tool that divides the checkout process into clear, defined stages. Each stage represents a step the customer must complete to finish their order. Common steps include:
By breaking the checkout into these steps, progress bars give shoppers an immediate sense of structure. Customers no longer feel like they are facing an unknown, endless process. Instead, they can see exactly where they are, how much is left, and how close they are to completing their purchase. This visual clarity alone can significantly improve the likelihood of checkout completion.
Progress bars are effective because they address both psychological and practical aspects of the shopping experience. They go beyond design, they actively influence shopper behavior and increase conversions.
By combining visual guidance with psychological motivation, progress bars create a seamless checkout experience that can dramatically reduce cart abandonment and increase conversion rates.
For Shopify store owners, implementing a progress bar is straightforward thanks to no-code apps. Using apps is the simplest and most reliable way to implement a progress bar. It requires no coding skills, works across devices, and can be customized to fit the look and feel of your store. It is simple in just a few steps:
Step 1: Install a Shopify app
First, you need to pick 1 Shopify app for you to add a progress bar in your store. You can search for terms like “checkout progress bar,” “checkout steps indicator,” or “progress tracker.” There are several apps available that let you customize the visual style, step labels, and colors to match your store.

Once you select an app, installation is usually a one-click process.
Step 2: Set up and Customize your progress bar
After installation, the next step is setting up the progress bar to match your checkout process and store design. Most apps provide a user-friendly interface where you can define:
Customizing the progress bar ensures it looks professional, matches your store aesthetic, and is easy for customers to understand.
Step 3: Preview and Test
Once your progress bar is set up, it’s essential to preview and test it before making it live. Most apps provide a real-time preview that shows exactly how the bar will appear during checkout.
Here’s what you should check during testing:
Testing ensures the progress bar works seamlessly, looks attractive, and delivers the intended motivational effect.
Step 4: Add Motivational Messages (Optional)
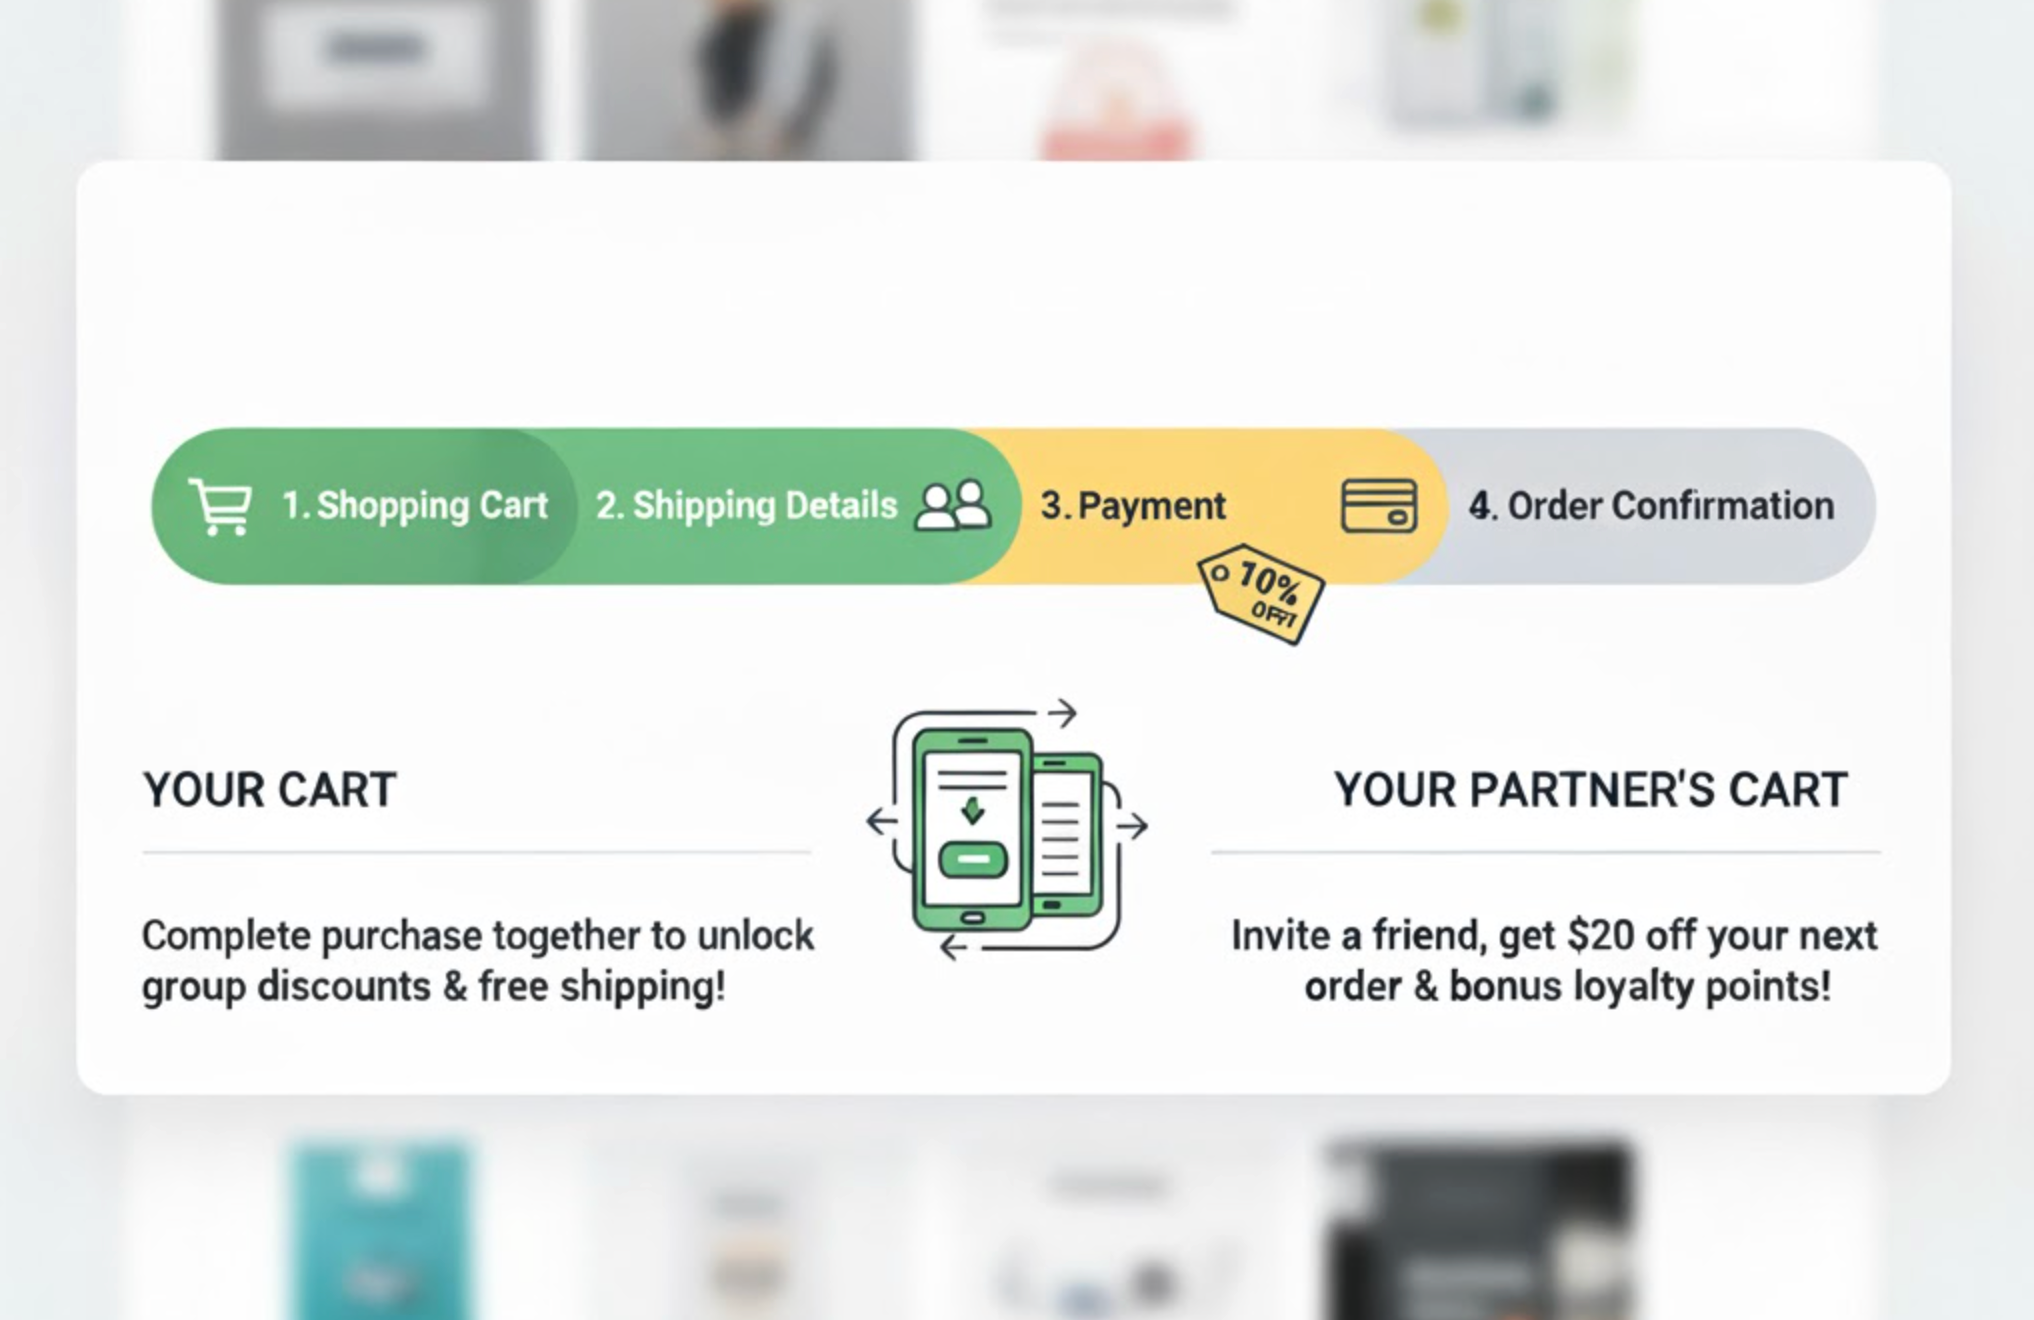
Many progress bar apps include the option to display motivational messages or small cues to encourage shoppers to complete their purchase. These can be simple text prompts or visually enhanced messages. For example:
These messages create a sense of achievement and urgency, subtly nudging customers to proceed through the checkout. When combined with the visual progress bar, motivational messages significantly increase conversion rates and reduce abandonment.
To make your progress bar as effective as possible, consider the following best practices:
By following these best practices, your progress bar will not only guide shoppers but also actively encourage them to complete their purchase.
Checkout progress bars are a small but highly effective tool for increasing conversions and reducing cart abandonment. They provide clarity, create momentum, and enhance the overall shopping experience. By showing customers exactly where they are in the process, you make the checkout feel faster, simpler, and more rewarding.
For Shopify stores, adding a progress bar is easy and completely no-code using apps. With clear labels, visual cues, and optional motivational messages, progress bars can transform your checkout from a potential point of friction into a smooth, engaging experience that encourages shoppers to complete their orders.