Please select the platform to login


If you run an online store, you’ve probably noticed that today’s shoppers don’t just take a business at its word—they want proof. Before spending money, they check reviews, scroll through ratings, and look for real customer experiences. That’s where testimonials come in.
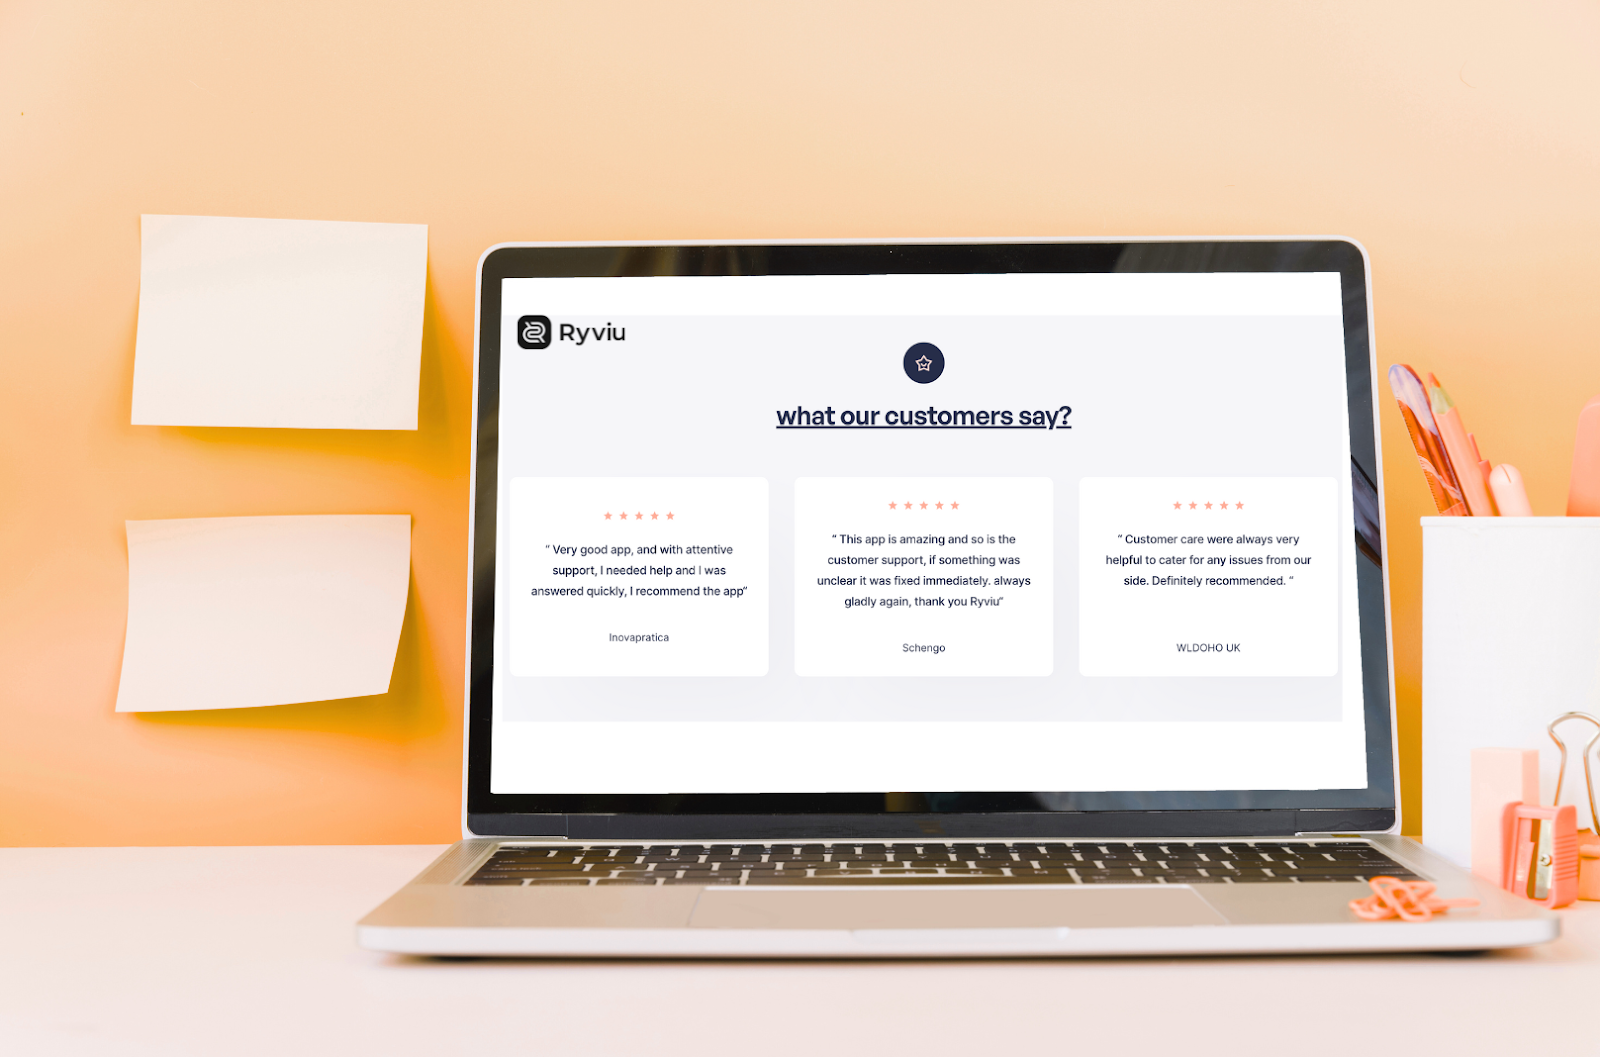
On Shopify, a testimonials slider is one of the most engaging ways to display customer feedback. Instead of showing static text, reviews scroll dynamically across the page, drawing attention and keeping your store looking modern and professional. It can be a powerful tool to build trust, increase sales, and set your store apart from competitors. But the real question is: how do you add testimonials to your Shopify store in a way that’s easy, professional, and effective?
In this guide, we’ll walk through everything you need to know about Shopify testimonials—why they matter, where to place them, and the best methods to add them while maximizing your store’s credibility and conversion rates.

Let’s start by understanding why testimonials are more than just nice words from your customers. They are a marketing powerhouse when used correctly.
Online shopping lacks face-to-face interaction, making it harder to establish trust. Testimonials bridge that gap by showing that real people have bought and loved your products. They reassure potential buyers that your store delivers on its promises.
Even if someone likes your product, doubts can creep in—Is it really as good as it looks? Will it arrive on time? Testimonials boost buyer confidence by answering those silent questions with proof from happy customers.
Studies have shown that displaying reviews and testimonials can significantly increase conversion rates. When people see others enjoying your product, they’re more likely to hit “Add to Cart.”
Social proof is the idea that people follow the crowd. If a shopper sees that others are buying and loving your products, they’ll feel more comfortable joining in.
Testimonials add personality and relatability to your store. Instead of just browsing through product specs, shoppers hear stories from people like them, making their shopping experience more engaging.
Yes, testimonials can even help with SEO. Fresh, user-generated content with relevant keywords can signal to search engines that your site is active and trustworthy, providing an organic boost.
When trust and confidence rise, revenue follows. Testimonials work as 24/7 salespeople, convincing visitors that your product is worth buying.
A customer who leaves a positive testimonial is more likely to come back. They’ve invested emotionally in your brand and become part of your story.
Not all testimonials will be perfect, and that’s okay. Customer feedback provides valuable insights into areas where you can improve, ultimately helping your business grow stronger.
Knowing the benefits is one thing, but placement is equally important. Let’s look at the best spots on your Shopify store to feature testimonials.
Your homepage is the front door of your store. By featuring testimonials here, you appeal to a wide range of visitors. You can mix testimonials from different demographics—such as different ages, locations, and professions—to make your brand relatable to everyone.
This is where many customers hesitate. Questions like Is it worth the price? Or does it work for me? Often arises. Adding testimonials here helps overcome objections by providing proof that others found your product to be affordable, easy to use, and effective.
Creating a dedicated testimonials page lets you highlight multiple aspects of your products and services—quality, customer support, delivery speed, and overall value. This page can serve as a hub of credibility.
Your About page tells the story of your brand. Adding testimonials here makes that story even stronger by connecting it with real customer experiences. Select testimonials that align with your mission and vision.
Sometimes space is limited, but even short, impactful quotes can make a difference. Place quick testimonials in your sidebar or footer with key benefits to keep them visible throughout the browsing journey.
Case studies are like testimonials on steroids. They dive deep into specific challenges your customers faced, how your product helped, and the outcomes achieved. This format works especially well if your audience values detailed, real-world examples.
There are several ways to integrate testimonials into your Shopify store. Each comes with pros and cons.
Most Shopify themes allow some level of customization. You can manually add testimonial text blocks, images, or sliders.
This method works if you’re comfortable editing code or if you only need a few static testimonials.
Some Shopify page builders (like PageFly, Shogun, or GemPages) let you drag-and-drop testimonial sections into your site.
This method is great if you want polished designs without coding but don’t need advanced testimonial features.
For the best results, Shopify apps like Ryviu take testimonials to the next level.
If you’re serious about building trust and increasing sales, apps are the most efficient, professional, and scalable solution.
While there are many apps out there, Ryviu is one of the top choices for Shopify merchants. Here’s why:
For Shopify merchants, Ryviu isn’t just a tool—it’s a growth partner.
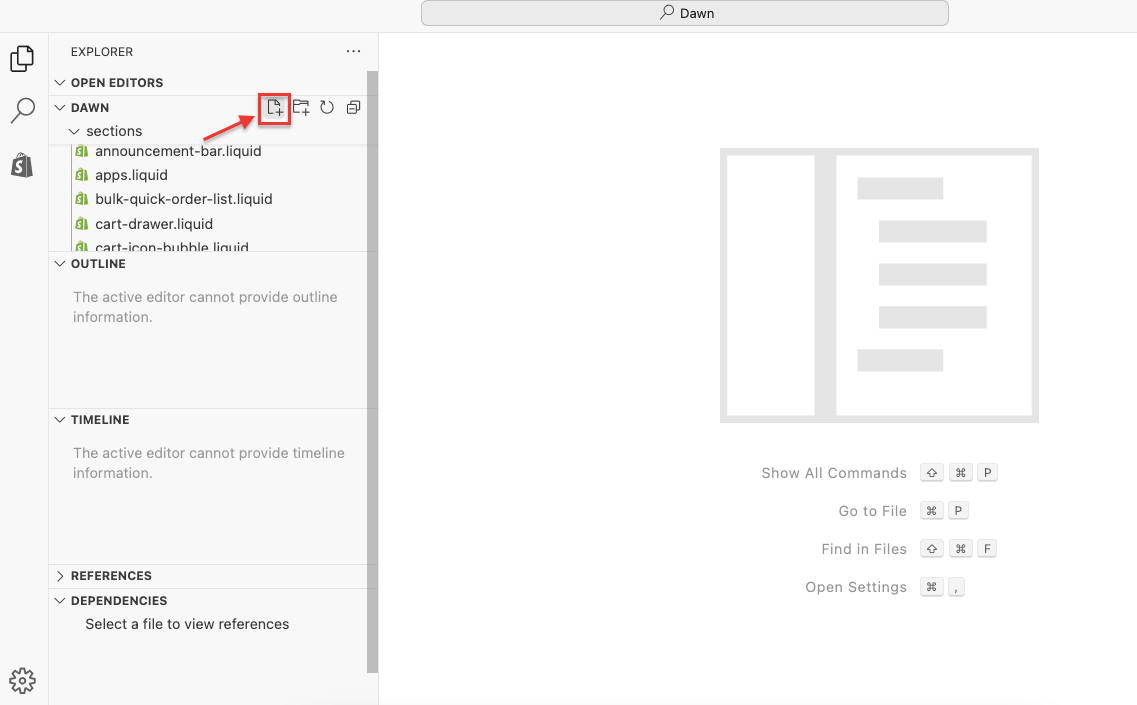
Don’t worry, if you aren’t comfortable with the cost of using an app to add testimoinals slider, get the free code with a step-by-step guide to add a testimonial slider.
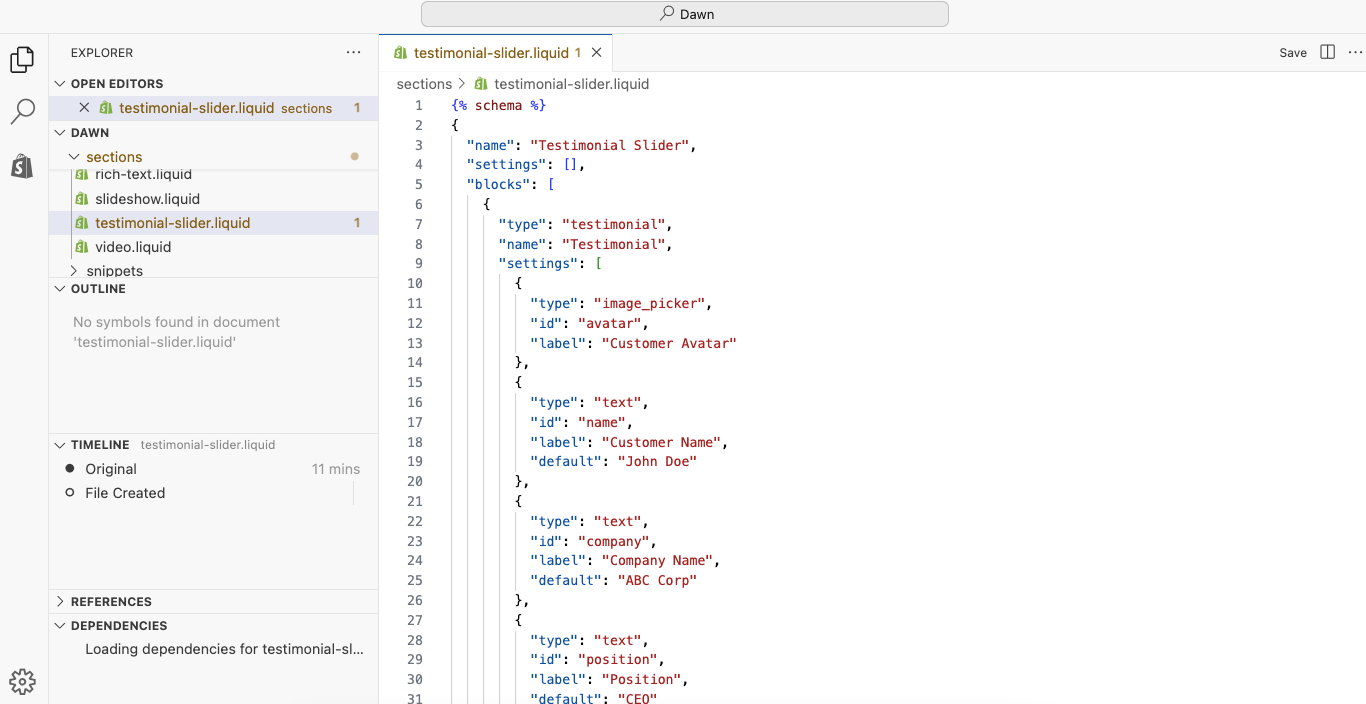
{% schema %}
{
"name": "Testimonial Slider",
"settings": [],
"blocks": [
{
"type": "testimonial",
"name": "Testimonial",
"settings": [
{
"type": "image_picker",
"id": "avatar",
"label": "Customer Avatar"
},
{
"type": "text",
"id": "name",
"label": "Customer Name",
"default": "John Doe"
},
{
"type": "text",
"id": "company",
"label": "Company Name",
"default": "ABC Corp"
},
{
"type": "text",
"id": "position",
"label": "Position",
"default": "CEO"
},
{
"type": "textarea",
"id": "quote",
"label": "Testimonial Text",
"default": "This is an amazing product! Highly recommended."
},
{
"type": "select",
"id": "rating",
"label": "Star Rating",
"options": [
{ "value": "1", "label": "1 Star" },
{ "value": "2", "label": "2 Stars" },
{ "value": "3", "label": "3 Stars" },
{ "value": "4", "label": "4 Stars" },
{ "value": "5", "label": "5 Stars" }
],
"default": "5"
}
]
}
],
"presets": [
{
"name": "Testimonial Slider"
}
]
}
{% endschema %}
<style>
.testimonial-slider {
position: relative;
overflow: hidden;
width: 100%;
max-width: 800px;
margin: auto;
}
.slider-container {
display: flex;
transition: transform 0.5s ease-in-out;
white-space: nowrap;
}
.testimonial-slide {
min-width: 100%;
box-sizing: border-box;
display: flex;
flex-direction: column;
align-items: center;
text-align: center;
padding: 20px;
}
.testimonial-slide img {
border-radius: 50%;
width: 80px;
height: 80px;
object-fit: cover;
margin-bottom: 10px;
}
.testimonial-slide p {
font-size: 1.9rem;
color: #555;
font-style: italic;
}
.testimonial-slide .star-rating {
color: #fbbf24; /* Yellow */
font-size: 1.5rem;
margin-top: 10px;
}
.testimonial-slide h3 {
font-weight: bold;
margin-top: 5px;
}
.testimonial-slide .company-position {
font-size: 1.2rem;
color: #777;
margin-top: 3px;
}
.add-a-water-text-shopidevs {
opacity: 0.7;
margin-top: 10px;
font-size: 0.9rem;
}
.add-a-water-text-shopidevs a {
text-decoration: none;
color: #555;
}
.slider-nav {
position: absolute;
top: 50%;
transform: translateY(-50%);
background: rgba(0, 0, 0, 0.1);
border: none;
padding: 10px;
cursor: pointer;
border-radius: 50%;
}
.slider-nav:hover {
background: rgba(0, 0, 0, 0.3);
}
.prev { left: 10px; }
.next { right: 10px; }
</style>
<div class="testimonial-slider">
<div class="slider-container">
{% for block in section.blocks %}
<div class="testimonial-slide">
{% if block.settings.avatar %}
<img
src="{{ block.settings.avatar | img_url: '80x80' }}"
alt="{{ block.settings.name }}"
width="80"
height="80">
{% endif %}
<p>"{{ block.settings.quote }}"</p>
<h3>{{ block.settings.name }}</h3>
<div class="company-position">{{ block.settings.position }}, {{ block.settings.company }}</div>
<div class="star-rating">
{% case block.settings.rating %}
{% when '1' %} ⭐
{% when '2' %} ⭐⭐
{% when '3' %} ⭐⭐⭐
{% when '4' %} ⭐⭐⭐⭐
{% when '5' %} ⭐⭐⭐⭐⭐
{% endcase %}
</div>
<div class="add-a-water-text-shopidevs">
<a target="_blank" href="https://apps.shopify.com/revolution-slider?utm_source=Shopidevs_article&utm_medium=shopify_testimonial_slider&utm_campaign=ShopiDevs_marketing&utm_term=provided_free_code">Get More Templates</a>
</div>
</div>
{% endfor %}
</div>
<button class="slider-nav prev" onclick="prevSlide()">❮</button>
<button class="slider-nav next" onclick="nextSlide()">❯</button>
</div>
<script>
document.addEventListener("DOMContentLoaded", function () {
const slider = document.querySelector(".slider-container");
const slides = document.querySelectorAll(".testimonial-slide");
let index = 0;
function updateSlider() {
slider.style.transform = `translateX(-${index * 100}%)`;
}
function nextSlide() {
index = (index + 1) % slides.length;
updateSlider();
}
function prevSlide() {
index = (index - 1 + slides.length) % slides.length;
updateSlider();
}
document.querySelector(".next").addEventListener("click", nextSlide);
document.querySelector(".prev").addEventListener("click", prevSlide);
// Auto-slide every 5 seconds
setInterval(nextSlide, 5000);
});
</script>
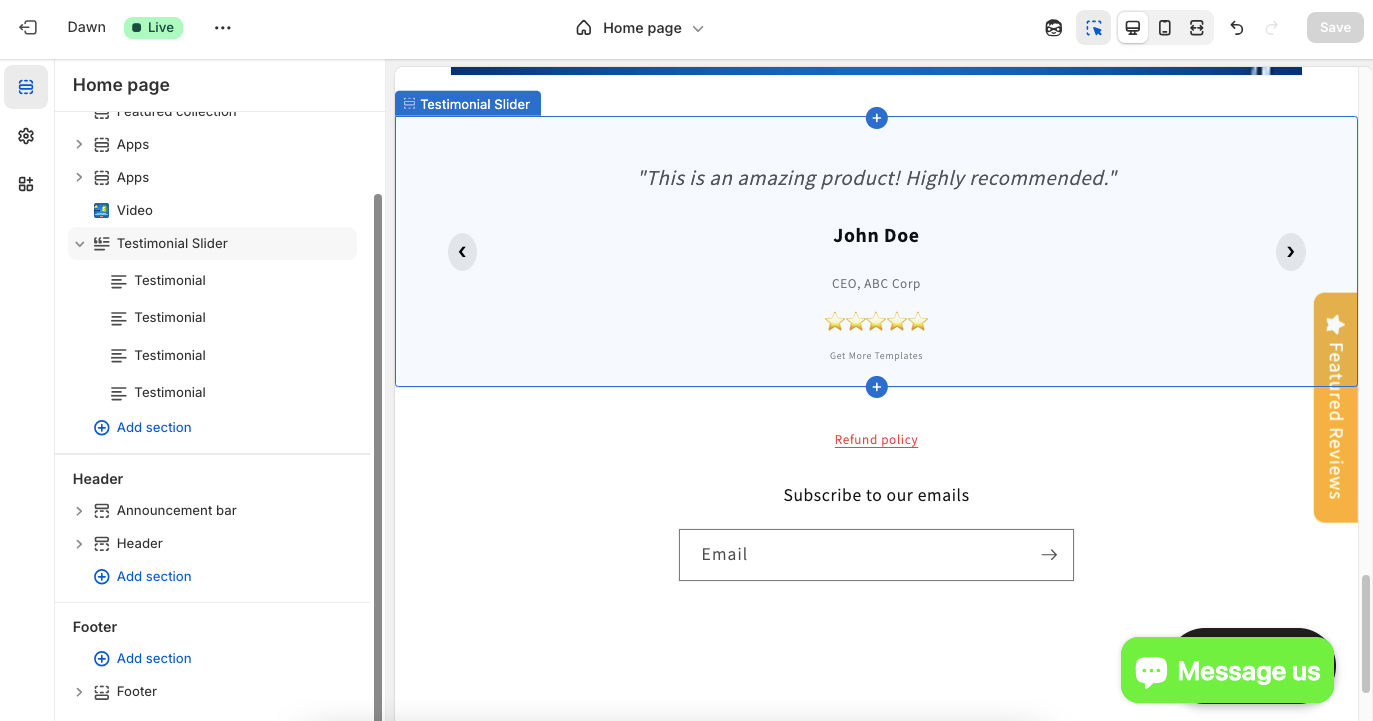
Now your testimonials slider is live!
Before you can display testimonials, you need to collect them. Here are practical tips:
Adding testimonials to your Shopify store isn’t just about collecting nice words—it’s about building trust, boosting sales, and creating a powerful brand presence. Whether you place them on your homepage, pricing page, or About page, testimonials can act as the voice of your satisfied customers.
If you haven’t started yet, now’s the time. With Ryviu, adding testimonials to Shopify is no longer a hassle—it’s your competitive advantage